
Today let’s see the installation of Windows Server 2008 r2 SP1 in Hyper-v
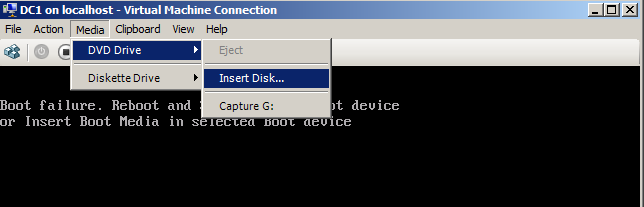
Ones you open this will show the option to insert Boot Disk
Click on Media Tab in Menu bar and click insert Disk, browse and insert the boot disk.
Now we begin with Mounting the Boot disk (win 2008 server sp1) in Hyper-V.
Let’s begin the installation, before you begin select the Language, Time Format and click Next.

Click Next and Proceed further, Installation now begins.
Click Install

Setup will begin now, here we need to select the Operating System.
Note: Here 4 types installations are shown. Each consists 2 types 1 GUI Mode & 1 Core(command Mode) which makes 8 types:
Here according to my scenario I’m taking Enterprise SP1 as shown below:
For More info:

Select the type and click Next.
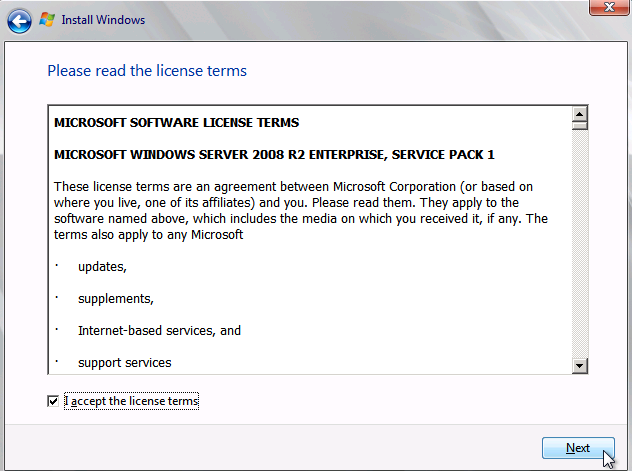
when it prompts for License please read the Terms and Conditions, accept and proceed further.
Here we get two types “Upgrade and Custom (advance) options, please select according to your requirement.
When you click on Custom Tab it will take you to Next stage where you have to do Disk Partition.
Click on Drive option and proceed with Disk Partition accordingly.
Click New as shown below and Next to Proceed further.
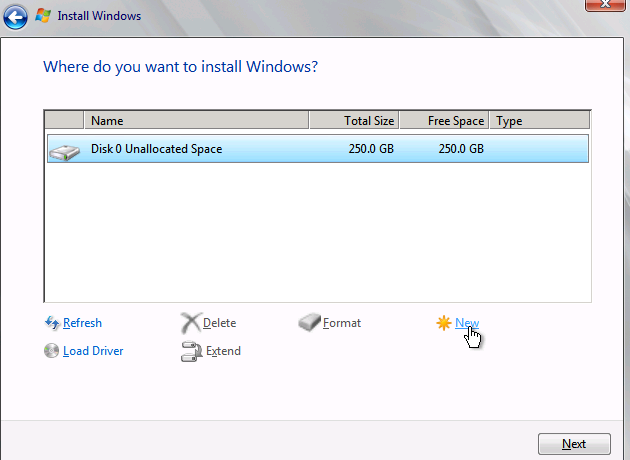
By default system will reserve 100 MB.
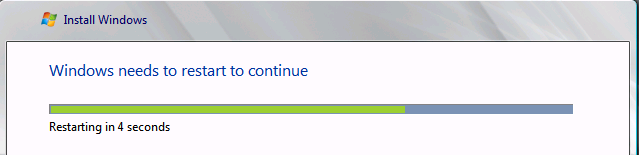
Click Primary Type -> Next -> Installation begins as shown below:

After completion it will restart the computer.
Here it will update the Registry setting as shown below:
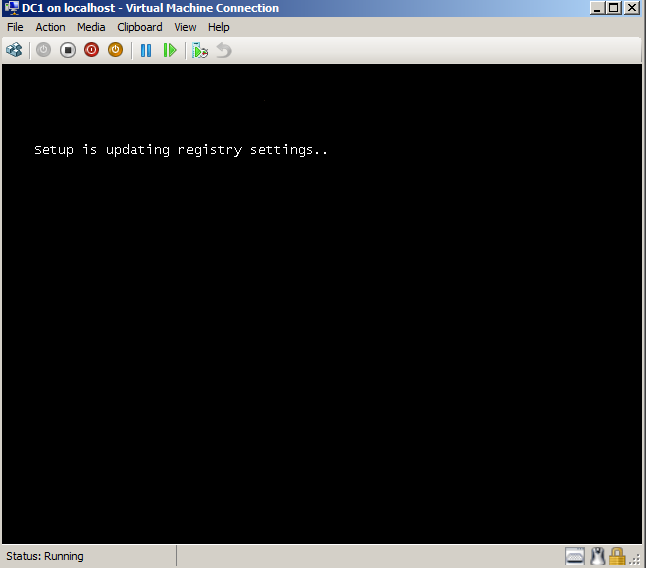
Not to worry it will take you to installation window again.

New Window which will tell that Setup is preparing your computer for first time.

Now here it will take you to please change you password.
After changing the password you can log into the Machine.
Great Installation completed, Now need to activate you window key.
Ones you login to the Machine it will take you to Initial Configuration Task page.
Change the setting accordingly on your requirement.
Note: Make sure your Based Machine and VHD do not have time sync issues.
Troubleshooting Time Sync Issues
Great in this blog we have seen Installation of Operating System on Hyper-V 🙂
Praveen Kumar
MCSA, MCSE | Windows Server
Publisher @ Techrid.com
